Reynolds Trumpet Project
Hello! This post will show my progress repairing a trumpet for a class project.
This is a Reynolds trumpet likely made in the 80's. It is in okay condition and seems to have been worked on previously by another technician.
Cleaning
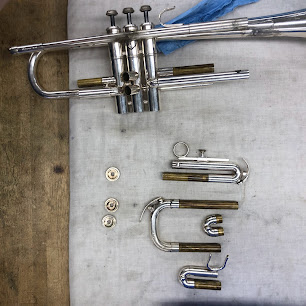
I start the cleaning process by first disassembling the entire instrument.
Using some blue cloth and valve oil, I pre-clean the inner and outer parts of slides, lead pipes, valves, and valve casings. This removes any dirt and debris as well as left over slide grease.
During cleaning, I am also taking into account any glaring issues. The valves for instance are completely shot. At first I thought they were made of nickel-silver (which notoriously corrodes and overall is not a great valve material), but upon closer inspection of the ports, it seems to be nickel-plate that has been severely neglected.
The valves will need to be re-plated which this project will unfortunately not have time to cover.
I remove any ferrous metals, such as the water key springs and the aluminum valve stems. These items will experience adverse affects if exposed to the pickling solution.
All parts go into a de-greasing solution and then a phosphoric acid pickling solution. The interiors are scrubbed clean and inspected for any remaining corrosion. Afterwards, the instrument is neutralized to prevent negate any leftover acids or future corrosion.
Dent Removal
The 2nd valve slide had only one major dent.
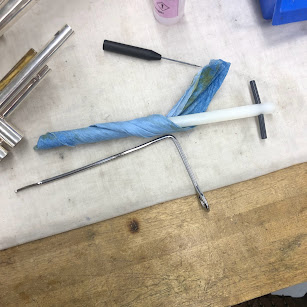
Using a dent ball crook rod and some soap, I secure the rod in a vice and begin to push the dent to the outside. Then, I round out the worked area with a dent hammer.
Next is a dent found on the lower MTS to 3rd valve knuckle.
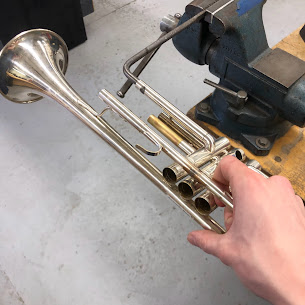
I use a 90 degree crook rod with a medium size dent ball and work the area. The metal is very soft so it takes little to no effort. I chose not to use a dent hammer in this instance, the metal was proving to be soft and could create more problems.
Results.
Straightening the bell.
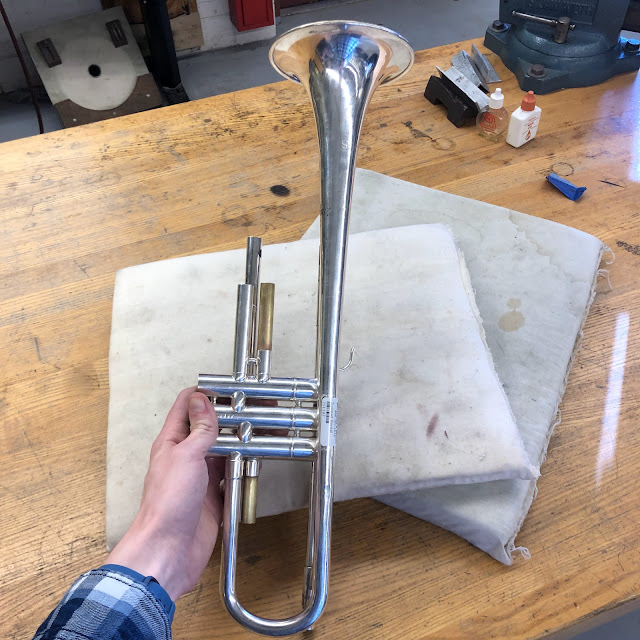
This trumpet has a few areas that are really out of whack. Starting with the bell, you can see that it drooping in a significant manner.
The only fix is to simply bend it back into place. I use a bench peg as safeguard to prevent me from bending too far. Then, I flex the bent portion, using my hand as fulcrum and placing it where the bend originates.
Made some progress, needs a little more.
After some more negotiations with the bell, it finally agreed to straighten out.
Next, I address the bell tail. It has a very slight bend going towards the lead pipe (which is also badly bent; more on that later).
Fixing this bend requires an interesting technique. Using a belt and a vise, I hold the bell tail so that only a small area is effected and snap down trumpet.
Much better.
Next up is the lead pipe. This is one is pretty noticeable.
Using a junk mouth piece, I secure it with a vise and carefully bend the pipe from the bend portion.
I found that despite bending it in this way, the lead pipe was still suffering from bends in other places.
Straightening the Lead Pipe
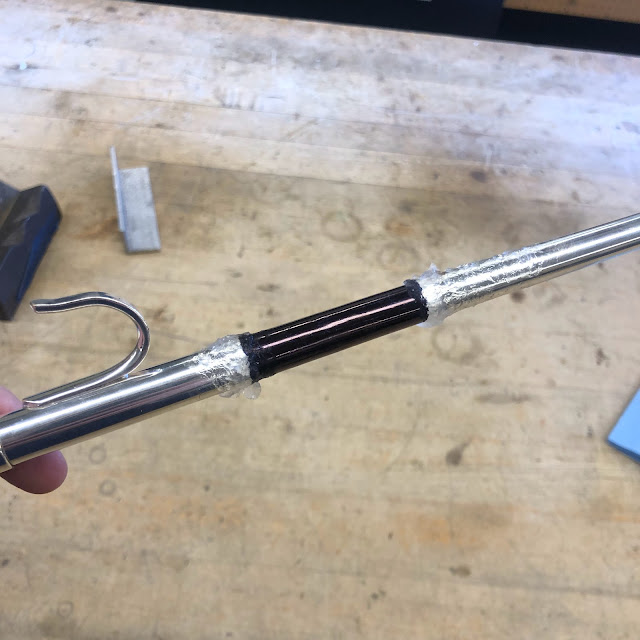
I was unable to get any movement out of bending the pipe, so I get it set up for annealing.
The bent area is colored in with permanent marker and the ends have some Cold Shield applied to keep the heat from spreading.
The permanent marker is used as an indicator. I heat the area until the marker begins to fade away.
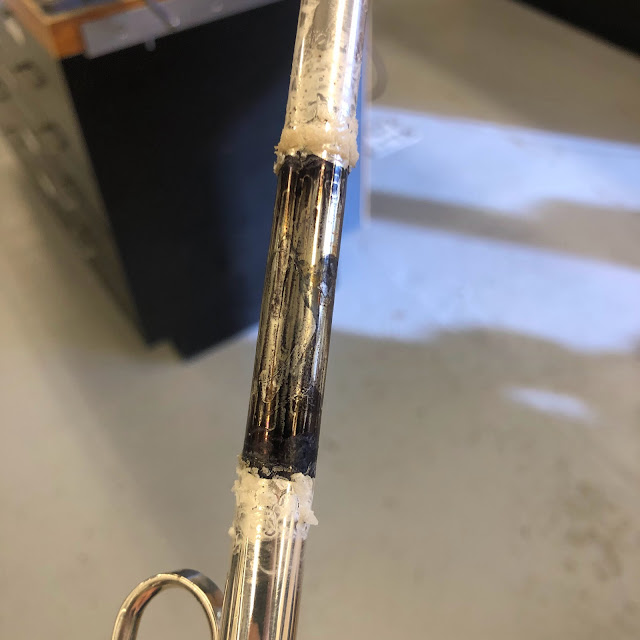
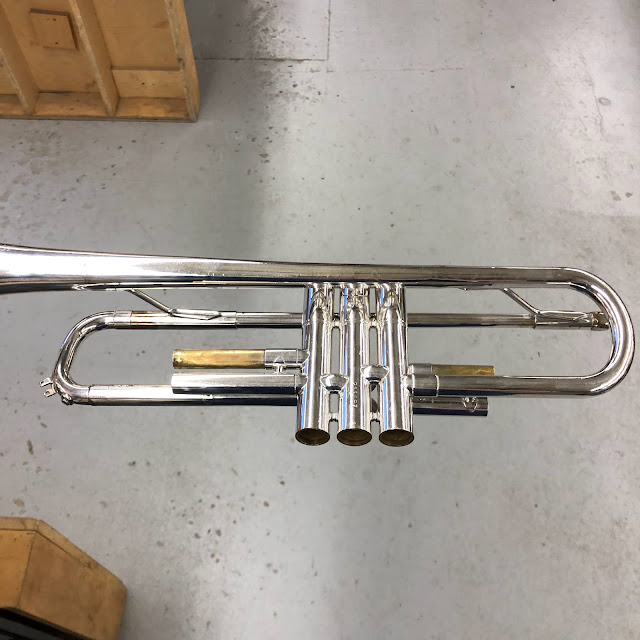
After heating I clean the area. In this image you can see where the pipe is missing some plating. There are few spots like this on this trumpet.
With the pipe annealed, it bends easier and some progress is made. This pipe has little hope of becoming perfectly straight but I try to get it as close as possible.
Repairing the Receiver
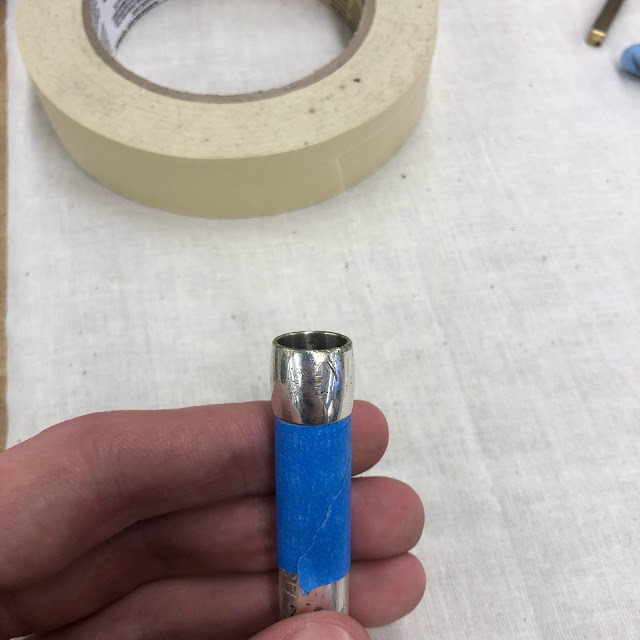
I use 600 grit sand paper to remove the scratches from the rim.
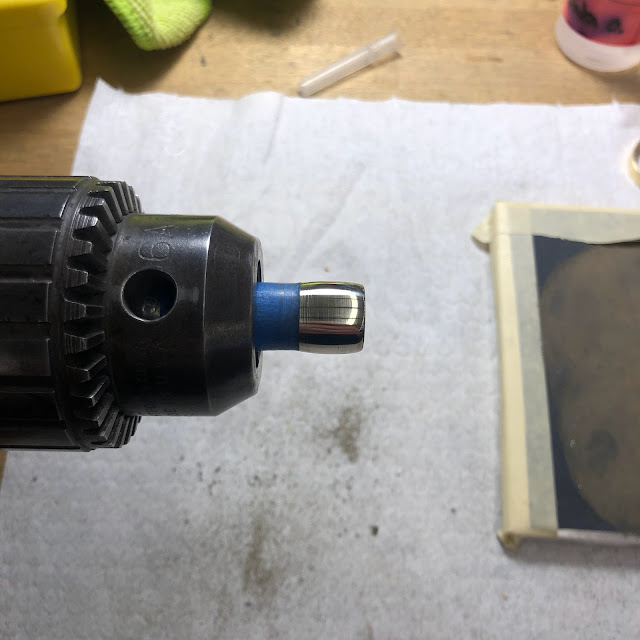
The blue tape is there to protect the receiver when tightened in a bench motor. I spin the receiver with some sandpaper until the scratches are gone.
Another results picture.
Then, I solder the receiver back on to the lead pipe.
I cover the process for assembling a lead pipe in this post: Building a Lead Pipe for Trumpet.
Finally, I solder the valves casing to lead pipe brace.
Replacing and Removing Braces
I get set up for soldering by clipping the braces in place. Then, I apply cold shield to areas that I don't want becoming un-soldered. The perimeters and tops of the braces are marked with a grease pencil to help prevent solder from adhering in unwanted places.
I feed the solder from the heel of the brace and use the heat draw the solder up the rest of foot.
Polishing
After polishing, I realize that I had forgotten to re-solder the finger hook back on!
I made sure it got polished too.
Before and after the slides are polished.
Final Assembly
Each slide gets greased applied.
The first and third slides get some valve oil to thin out the grease, allowing for smooth and quick movement.
All the slides are assembled.
Grease is also added to the threads of the bottom valve caps and valve stems. This is done to help prevent corrosion.
Next the valves are ported with felt material.
The down stroke is checked first. If the port knuckles eclipse with the valve ports then the valve cap felt needs to be compressed.
There are few methods to compress felt. I use a heated pad slick as an iron and get okay results. Another way is to smash it between two steel bench anvils.
Now the ports are aligned!
I carry out this process with the remaining valves. The upstroke porting is done the same way, using and endoscope to check the ports.
Lastly, I replace the water key spring and corks.
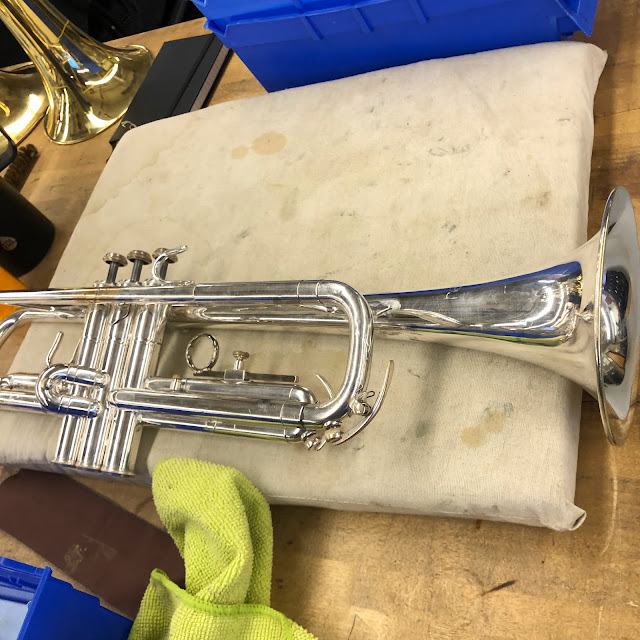
That concludes this project! Thanks for reading.

















Comments
Post a Comment