Building a Lead Pipe for Trumpet
Hi. In this post, I will be going over the process for replacing the inner tube on a lead pipe.
Lead pipes often need replacement if corrosion or irreversible damage is present. If the receiver and outer tube are in good condition, it is a good idea to just replace the inner lead pipe for the sake of convenience.
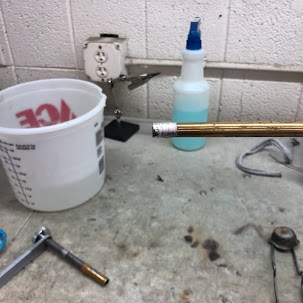
I first set up the lead pipe on an expander. Then, I wipe all the high solder from the receiver and outer tube.
Using another expander, I un-solder the receiver and the outer tube. The interiors are wiped free of any solder.
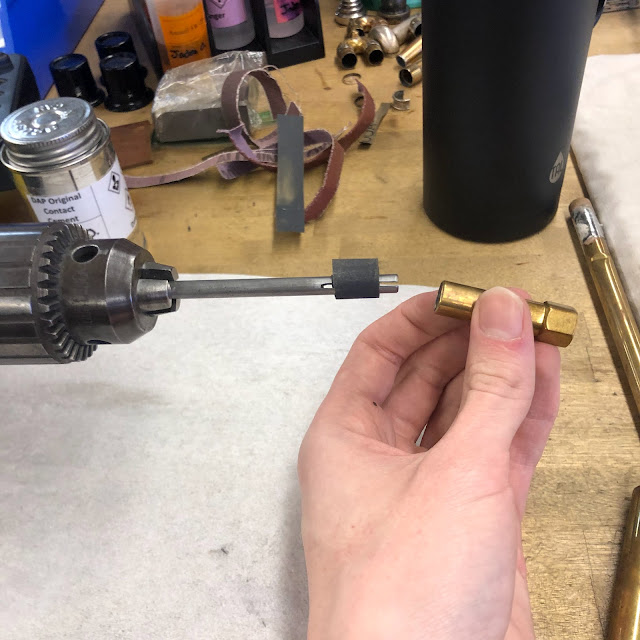
Using a sanding rod, I clean up the insides of the receiver and outer tube. I also sand the ends where solder will be applied. This preparation will help the solder adhere to the new pipe.
Now the parts are ready to be buffed. A mouthpiece is used as a handle for buffing the receiver.
Preparing and Replacing the Inner Pipe
On the right is a new, universal, inner pipe (or lead pipe). It will be trimmed to length and prepped to be soldered to the receiver and outer tube.
First, I mark the difference of the new lead pipe to the old. The universal lead pipes are made long so that they can be adjusted for any length.
Then, I use a pipe cutter to remove the excess. I use a scraper to de-burr the inner diameter after.
I found that my first cut was a little off the mark and that as a result, the new lead pipe is a hair too long. A belt-disc sander fixes the problem but creates some new burrs that I have to scrape away.
Now that the lead pipe is ready, the outer parts can be fitted.
For the outer tube, the original main tuning slide is used to achieve the correct length the tube needs to be adjusted for.
In some cases, a brass shim may be needed to ensure a secure fit or the end flared with a Morse #1 taper.
The first adjustment is flaring the end of the lead pipe. I use some chunky needle nose pliers to accomplish this, it is close enough to a Morse #1 taper. This also creates a dam to block solder from reaching the part of the receiver where the mouthpiece goes. Neat!
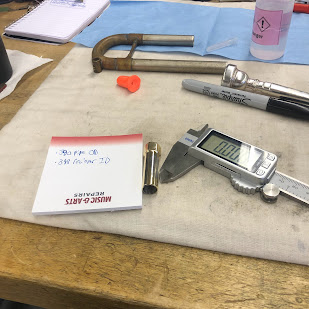
The difference of the diameters was 0.008". This means that a 0.004" shim will be needed since the difference is referring to that of the diameter. Then, the shim is cut to length.
I cut the shim to be just long enough to wrap around the lead pipe without the ends just barely not touching. The width I cut it to is about 1/8".
Finally, the receiver is placed on the lead pipe with the shim. The receiver should still reach the mark and the shim should be just out of sight from where they meet.
Soldering and Finishing
Before soldering can begin, I make sure that all parts are straight and in alignment. Then, with the acetylene torch lying face up, I heat the tube by hand in rotating motion.
I heat the tube until flux begins to boil on the surface and apply solder where the parts meet.
This same process is done with the receiver, though I feed some flux on both the inside and outside of the joints.
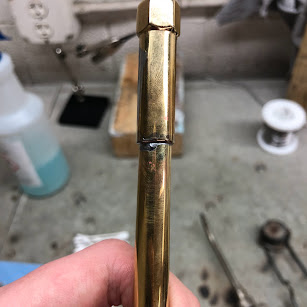
These are my results after soldering...
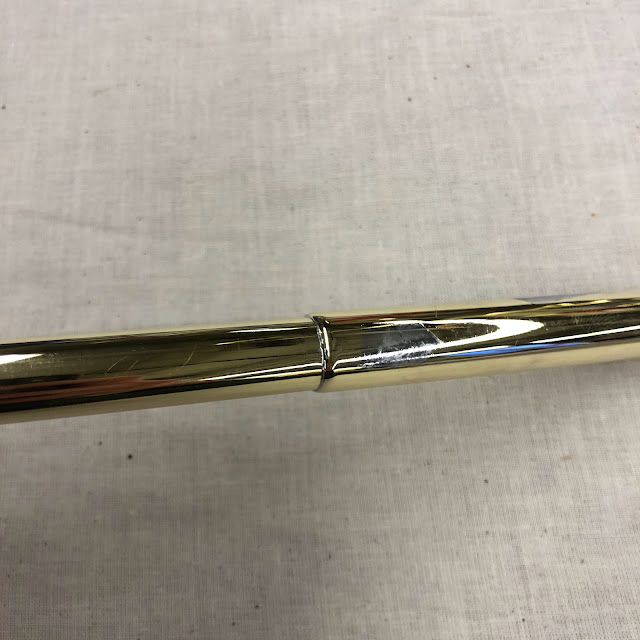
... and then after wiping.
Next the lead pipe goes to the buffing room to remove tinning.
Done!












Comments
Post a Comment