Razor Blade Pad Slick
Preparing the blades.
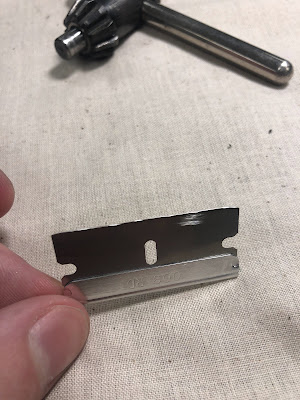
This project involves turning 2 used razor blades into a very useful tool called a pad slick.
Pad slicks come in many varieties and are invaluable in their ability to help level pads.
In this project, I will be grinding down razor blades into two different designs.
Here is a comparison of the blades. The one on the left was ground and de-flashed, the other unchanged.
Both blades are now ready to be shaped into pad slicks.
Shaping the blades.
I traced the templates onto the the blades with marker. These designs will both help with leveling smaller pads that are often hard to reach.
Using the silicon-carbide wheel, I begin removing material up to the marker. The blade gets decently hot during this process so I keep a small jar of water to cool it down when needed.
I set the egg-shape blade aside and begin to work on the narrow one.
De-flashing and sanding the edges.
With both blades shaped, I switch to the Craytex wheel to de-flash the edges to remove any burs.
All done!
Tools used: Bench motor, silicon-carbide wheel, Craytex wheel, sand paper (600), screwdriver, marker
Materials used: Razor blades


Comments
Post a Comment