Pinning a Cracked Clarinet
Preparing to drill.
This project involves drilling a hole into a wooden clarinet, inserting a carbon fiber pin, and sealing the surface.
Pinning a clarinet requires a lot of skill and experience (I find this to be true by the end of the project), luckily, I have a great opportunity to practice this skill and document my results.
Although this is a simulated crack, I can still practice the technique for pinning a wooden clarinet. In a real-world scenario, a normal crack would be deep enough to compromise the bore, thus creating a leak.
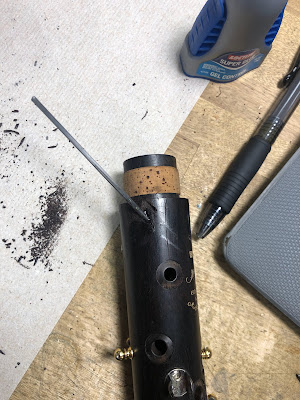
Here I mark the trajectory of where I plan to drill a hole (about 14mm long).
The goal is to create a hole only through the body of the clarinet - not into the bore. Once the hole is drilled a pin can be inserted to close the gap that the crack has created.
Using a spring-loaded center punch, I mark the insertion point for the drill.
Drilling.
With a drill bit mounted to the bench motor I am ready to make my first attempt.
First, I drill in about 3mm perpendicular to the clarinet. Then, I begin to drill the hole further as I rotate the clarinet so that the drill is parallel with the marked line. From here it is a careful process of drilling until just before the wall on the opposite side - while also avoiding drilling into the bore.
With this attempt, I did impact the bore from the inside. In addition, I also drilled through the other side of the wall, but that is an easy fix.
Thankfully this is just for practice, so I mark a new line and prepare to drill a second hole.
Improving from my previous effort, I manage to drill a hole without piercing the bore or drilling through the opposite wall.
Inserting the pin.
Though there are other pinning options, carbon fiber has become a new standard in most shops.
To prepare the pin, I insert it into the previously drilled hole. I mark the amount that protrudes from the body and use a jewelers saw to make the pin flush.
After the pin is trimmed, CA glue is applied to the hole opening and the pin is inserted.
Filling the holes.
With the pin inserted, there remains the problem of holes on the exterior body. It is always best to conceal these holes to match the body finish of the clarinet.
Two materials are used to achieve this: Liquid CA glue and Grenadilla dust (the wood dust must match the clarinet wood type).
First I scoop some Grenadilla dust over the holes, ensuring that it is thoroughly covered.
Then, using a screwdriver, I apply the CA glue to the wood dust. It is important that enough glue is applied to both saturate the wood dust and completely fill the hole, leaving no gaps or pockets.
Filing and sanding.
Using a jewelers file, I begin to work at the mound of glue and wood dust to get it near-flush with the body.
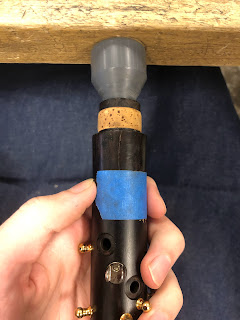
I use some masking tape to protect parts of the body from the file and sanding.
After filing, I discover that my previous gluing job did not quite cover the hole. I go back over it with some more Grenadilla dust and CA glue, making sure that it is properly covered this time.
I file down the same spot again. It seems my second gluing did the trick.
I do the exact same process for this hole as well. This one was the result of my first attempt at drilling when it went through the entire body.
The next step is to sand the surface with increasing grits of sand paper, from 400, 600, 1200, to 3200 grit.
I make a sanding stick so I can accurately sand where it is needed. I begin sanding horizontally, then finishing vertically, doing so with each grit size in ascending order.
This is after sanding 400 to 1200 grit. Next is to use 3200 grit and then denim fabric to blend with surrounding area.
Before and after of 3200 grit and denim.
Pictured are both of the filled holes after all sanding is complete. It almost blended in completely but needs bore oil to fully match the finish.


Comments
Post a Comment